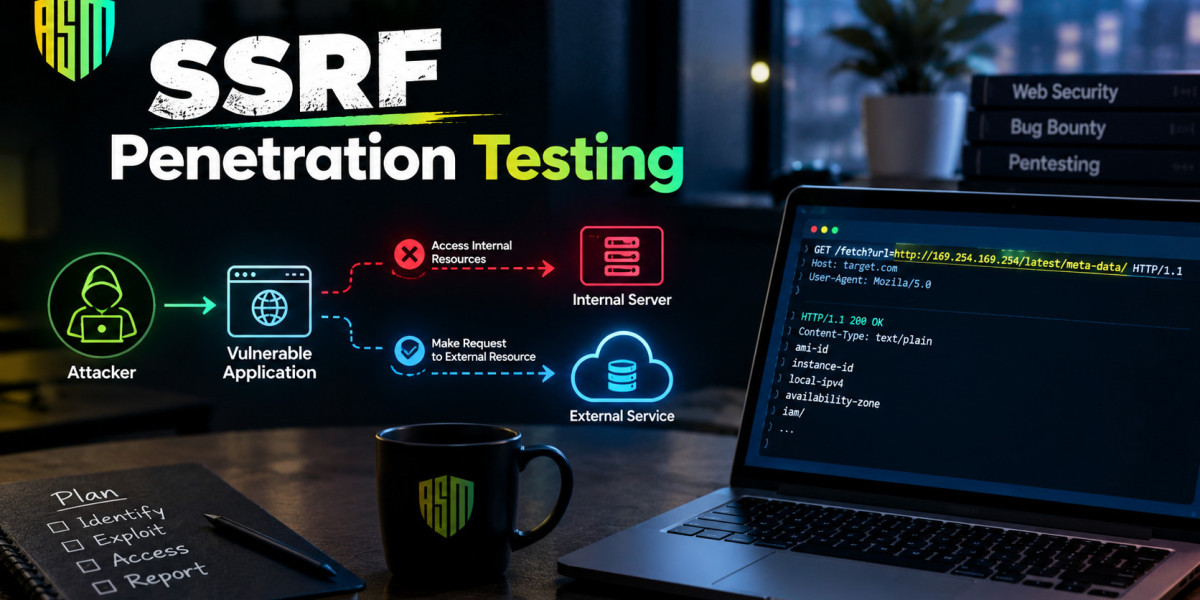

SSRF penetration testing means finding every feature where the server makes a request from user input, proving the server fetches a destination you control, then carefully measuring what internal systems it can reach. Blind cases are confirmed with outbound callbacks. Stop at minimal proof and report the reachable impact, not just the callback.
Good SSRF testing is less about clever payloads and more about discipline. Most missed findings are not missed because a bypass was too exotic. They are missed because the tester never found the hidden feature that makes an outbound request, or saw a quiet response and assumed nothing had happened. This guide lays out a repeatable method you can follow on any web application, whether you are on a consulting engagement, a bug bounty programme or an internal review.If you need background on the flaw itself first, our overview of server side request forgery covers the concept. Here we focus on the work, what to do, in what order and how to avoid causing harm while you do it.
Before You Test Scope, Rules and Safety
SSRF testing touches infrastructure that the application owner may not have thought about, so confirm scope before sending a single request. Internal address ranges, cloud accounts and third party services reached through the application may all sit outside the permission you have been given.
Agree on these points up front
Which targets are in scope. Make sure the application is explicitly covered and ask whether internal systems reached through it may be probed.
What counts as acceptable proof. Many clients prefer a confirmed callback or a harmless internal response over retrieved secrets.
Rate and timing limits. Portscanning through a production server can cause noise or instability.
Data handling. Decide how you will treat any sensitive data that an internal service returns by accident.
Third party risk. Do not aim requests at systems owned by other organisations, even if the server can reach them.
A good rule of thumb is to use the lightest test that proves the point. If a callback to your own server proves the server fetches attacker chosen addresses, you do not need to extract a credential to make the same case.The security tradeoffs of vibe coding platforms are a useful reminder to include those features in scope.
Phase 1 Map Every Place the Server Makes Requests
The first job is inventory. You are looking for any behaviour that implies the server reaches out. Spend time in the interface and in your proxy history before testing anything.
Feature Checklist
Feature | Why it fetches | Typical input |
Link preview or unfurling | Reads a page to show title and image | URL in a message or form |
Webhooks and callbacks | Sends events to a user defined address | Callback URL field |
Import from URL | Downloads an image, file or feed | URL, sometimes in JSON |
Avatar or logo by URL | Fetches and resizes an image | URL field in profile or settings |
HTMLtoPDF and screenshot tools | Renders a page on the server | URL or HTML body |
Integrations | Calls a customer provided API endpoint | Base URL or hostname |
Proxy or download helpers | Retrieves a file on the user's behalf | url, file, path |
Parameter Hunting
In your proxy, search request and response data for values that resemble URLs, hostnames or IP addresses. Typical parameter names include url, uri, link, callback, redirect, feed, image, host, domain, site and path. Names are only hints, so inspect JSON bodies, XML, multipart forms and encoded values as well.
Look Beyond the Obvious Inputs
Some of the best finds come from places the interface does not reveal
HTTP headers such as Referer or Host, which analytics or routing components may use to fetch content.
File uploads whose contents are parsed server side, including SVG, XML and office documents.
Fields that look like identifiers but are later joined to a base address.
Email, notification and report generation features that fetch remote resources behind the scenes.
Record every candidate, along with the request that carries it. This inventory is the backbone of the rest of the test.
Phase 2 Confirm the Server Fetches What You Give It
For each candidate, the first question is simple: does the server request an address I control? Answer it before attempting anything internal.
Use a Controlled Destination
Set up a destination that records incoming requests. This can be a collaboration style service built into your testing tool, a public interaction server, or a small listener you host. Give each test a unique identifier in the hostname or path so you can tie every incoming hit to the exact input that caused it.
Read the Callback Carefully
What arrives matters as much as whether something arrives.
An HTTP request is the strongest confirmation. The server fetched your address.
A DNS lookup only is a weaker signal. The application resolved your name, but something may have blocked the connection, so investigate further.
The source address tells you which machine made the request. If it differs from the frontend server, a backend worker or third party service may be making the call.
The UserAgent and headers often reveal the HTTP library, which helps you predict redirect and scheme behaviour.
Check Response Behaviour
For features that reflect content, compare the response to a normal request. A page title, a rendered preview or an imported file all show that the fetch succeeded. For nonreflective features, note status codes, response sizes and timing, because those are the signals you will use in the blind phase.Modern applications add new places to look. AI agents and toolcalling features can be pushed to fetch attacker chosen addresses through a prompt injection attack and quickly generated code often skips outbound request controls entirely.
Phase 3 Blind SSRF and OutofBand Detection
Many realworld flaws are blind. The server fetches your address and tells you nothing. Outofband detection solves that by moving the evidence off the application's response and onto a channel you control.
The Basic Technique
Submit your unique destination in every candidate input. Wait. Watch your listener. A callback tied to a specific input identifies a blind SSRF without any internal access at all. Because the processing may be asynchronous, a callback can arrive minutes later, so keep the listener open and keep notes on what you sent and when.
Inferring Reach From Behaviour
Once you have a confirmed blind flaw, look for side channels that reveal what the server can reach
Timing. A closed port often fails faster than a filtered one and an open one may respond differently again.
Error messages. Distinct messages for could not resolve host, connection refused and unsupported content type separate dead hosts from live ones.
Partial output. Page titles, status codes or content length values sometimes leak even when the body does not.
Treat each as a signal and test it against targets you know. Fetch a closed local port, an open one and a host that does not exist and record the difference. With that baseline you can interpret later results with more confidence.
Common Blind Pitfalls
Testers often draw the wrong conclusion from a quiet result. Egress filtering may block your listener while still allowing internal calls, so the absence of a callback does not prove the server cannot fetch internal addresses. A feature may queue requests and send them in batches. A backend worker in another network segment may make the call, giving you a source address that looks unrelated to the application you tested. Keep these possibilities in mind before closing a lead.
Phase 4 Measure Reach and Impact Safely
Confirming the flaw is not the end. A severity rating depends on what the server can touch, so measure reach with deliberate restraint.
Step 1 Loopback and Local Services
Test whether the server can reach itself. A request to a local address often returns a recognisable response, such as the application's own home page or an error from a different service. This tells you whether internal network access is possible at all.
Step 2 Private Ranges
Check a small number of addresses in the private ranges rather than sweeping everything. Use hosts you already know exist, such as a gateway or a documented internal system from the client. If you see differentiated responses, report the pattern and agree with the client before going further.
Step 3 Cloud Metadata
If the application runs in a cloud environment, test whether the metadata address is reachable. Do this with the least invasive request that proves the point, such as reading an instance identifier. Avoid pulling credentials unless your rules of engagement explicitly allow it. If you do encounter sensitive material, record only what you need as evidence, handle it according to the agreed process and tell the client promptly.Remember that modern metadata services may require tokens or custom headers. If your test fails, note why a missing header requirement is a useful mitigation to report as working, while a successful read is a high impact finding. Hardening guidance for this area appears in our notes on cloud security best practices.
Step 4 Internal APIs
Where an internal API is reachable, try a harmless readonly call. If the application allows custom methods or headers, record that too, since it widens what an attacker could do. The link between weak internal authorization and forged requests is covered in our guide to API security risks.
Step 5 Chain Potential
Note any reachable service known to have its own weaknesses. A forged request that reaches an internal component with a flaw such as insecure deserialization deserves a higher rating even if you do not exploit the second flaw. Describe the chain and stop.
WhiteBox SSRF Testing Reviewing Source Code
When you have source access, the work gets faster and more complete. Search for every outbound HTTP client call and trace its destination backwards to its origin.
What to Search For
Python requests.get, urllib.request.urlopen, httpx calls.
Node.js fetch, axios, http.request, got.
Java new URL(...).openConnection(), HttpClient, RestTemplate, WebClient.
Rendering and conversion tools headless browsers, PDF generators, image libraries that accept URLs.
For each call, ask where the address comes from, whether it is compared against an allowlist, whether the resolved IP is checked, whether redirects are followed and whether the response is returned to the user. A thorough Python security code review follows exactly this checklist and the same questions work in any language. Static analysis rules can help flag candidates, but a manual trace is what confirms real exposure. This is also where secure coding best practices become checkable: a single shared fetch helper is much easier to review than fifty scattered calls.
Reporting SSRF Findings
A weak report leaves developers guessing. A strong one lets them reproduce the issue, understand the risk and verify the fix.
Include these elements
Summary. One or two sentences describing the flaw and its reach.
Affected feature and parameter. The exact endpoint, input and any required conditions.
Evidence. Request, response or callback logs showing the behaviour, with sensitive data redacted.
Reachability. What the server could and could not reach and how you know.
Impact reasoning. Why the rating is what it is, covering control over the destination, response visibility and reachable targets.
Remediation. Allowlists, resolved address validation, redirect handling, scheme limits, network egress rules and metadata hardening.
Retest criteria. The specific tests that should fail once the fix is in place.
Describe positive findings too. If metadata access was blocked by a token requirement, say so. Defenders learn what is working and the report gives credit to controls that are held. Retest after remediation using the same inputs and a few bypass variations, since a fix that blocks only the exact payload you reported is not a fix.
Conclusion
Effective SSRF penetration testing follows a clear arc. Map every place the server makes requests, confirm that your address is fetched, use out of band callbacks when the application stays silent, measure what the server can reach with restraint and test whether any filters are genuinely robust. With source access, trace every HTTP client call back to its input. Finish with a report that explains reachability, impact and the exact retest conditions.The best testers combine curiosity with caution. They look in odd places such as headers and file parsers, they interpret quiet responses carefully and they stop at the minimum proof needed. To sharpen these skills in a safe environment, practise on the realistic labs and challenges at AppSecMaster and apply the method on your next assessment.
Frequently Asked Questions (FAQs)
How do you test for SSRF?
List every feature where the server fetches a URL, submit an address you control in each input and watch for a callback or a changed response. Then carefully measure which internal addresses and services the server can reach, using minimal, authorised requests.
What is out of band SSRF detection?
It is a technique for confirming blind SSRF. You supply a unique address on a server you control and monitor for incoming HTTP or DNS requests. If the target contacts you, it is fetching attackersupplied addresses even though its own response shows nothing.
Which tools are used for SSRF testing?
Common choices include an intercepting proxy with a callback service, a public interaction server, a web vulnerability scanner, fuzzing tools and static analysis for source review. Tools help with coverage, but manual mapping and interpretation find the subtle cases.
Is a DNSonly callback enough to report SSRF?
It is a lead, not a conclusion. A DNS lookup shows that the application resolved your hostname, but the connection may have been blocked. Look for an HTTP request or additional evidence of impact before assigning a high rating.
Is SSRF testing safe on production systems?
It can be, with care. Use low impact requests, agree on rate limits, avoid retrieving sensitive data unless explicitly permitted and coordinate timing with the owner. Internal scanning through a live server can cause disruption if done carelessly.