
Vinyl siding installation is one of the most popular ways to improve a home’s exterior while adding long-lasting protection against the elements. Available in a wide range of colors, textures, and styles, vinyl siding can give an older property a fresh appearance without the maintenance demands of many traditional exterior materials. When properly installed, it can also help protect exterior walls from moisture, wind, and everyday weather exposure.
Whether you are building a new home or replacing old, damaged siding, understanding the installation process can help you make better decisions about materials, contractors, and long-term maintenance.
What Is Vinyl Siding?
Vinyl siding is a durable exterior cladding material made primarily from PVC, or polyvinyl chloride. It is manufactured in panels designed to overlap and interlock, creating a protective layer over the home's exterior walls.
One of the biggest advantages of vinyl siding is its versatility. Homeowners can choose from traditional horizontal panels, vertical siding, shakes, scalloped styles, and options designed to resemble wood. Modern vinyl siding is also available in numerous colors and finishes, making it easier to match different architectural styles.
Benefits of Vinyl Siding Installation
Installing vinyl siding offers several practical and aesthetic benefits.
Low maintenance: Unlike wood siding, vinyl generally does not require regular painting, staining, or sealing. Routine cleaning with appropriate methods can help maintain its appearance.
Durability: Quality vinyl siding is designed to withstand normal exposure to rain, sunlight, wind, and temperature changes. Proper installation is essential for achieving its expected performance.
Moisture resistance: Vinyl itself does not absorb water like wood. When installed with the appropriate weather-resistant layers and detailing, it can help create an effective exterior moisture-management system.
Design flexibility: Vinyl siding comes in many colors, profiles, textures, and finishes. Some products are manufactured to mimic the appearance of natural wood while requiring less maintenance.
Cost-effective: Compared with some premium siding materials, vinyl can provide an attractive balance between installation cost, appearance, durability, and maintenance requirements.
Preparing for Vinyl Siding Installation
Good preparation is one of the most important parts of a successful siding project. Before new panels are installed, the existing exterior should be carefully inspected.
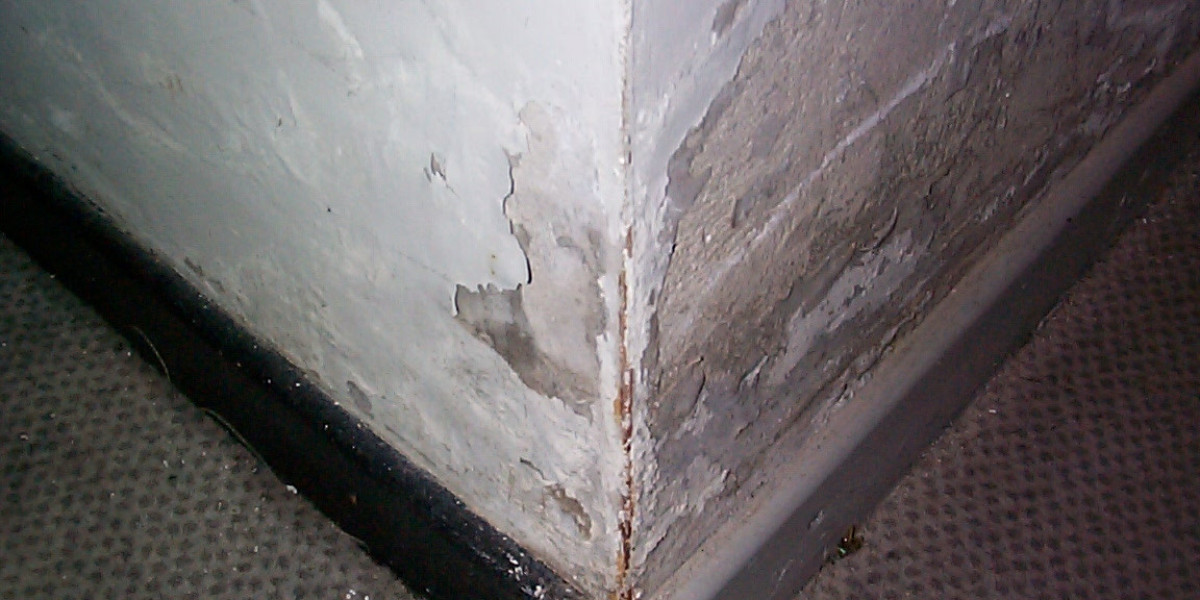
Old siding may need to be removed if it is damaged, deteriorated, or preventing proper installation. The underlying wall should then be checked for signs of rot, water damage, mold, or structural problems. Any issues should be repaired before the new siding goes up.
The installation surface should be clean and properly prepared. Depending on the home's construction and local requirements, the project may also involve installing or repairing house wrap, flashing, insulation, and other weather-resistant components.
Accurate measurements are also important. Contractors need to calculate the amount of siding, trim, starter strips, corner posts, J-channels, and other accessories required for the project.
The Vinyl Siding Installation Process
Although installation methods can vary depending on the product and building, the process generally follows several important steps.
1. Install Weather-Resistant Materials
Before siding panels cover the walls, appropriate weather-resistant barriers and flashing should be installed where required. These materials help manage water that may get behind the siding.
Special attention should be given to windows, doors, roof intersections, corners, and other areas where water can enter.
2. Install Starter Strips
A starter strip is installed along the bottom edge of the wall. It provides the foundation for the first course of siding and helps ensure that subsequent panels are properly aligned.
The starter strip must be positioned accurately because mistakes at this stage can affect the appearance of the entire wall.
3. Install Corner Posts and Trim
Outside and inside corners typically receive specialized vinyl corner posts. Trim components are also installed around windows, doors, and other openings.
J-channel is commonly used around openings and at certain edges to provide a finished appearance while allowing siding panels to fit correctly.
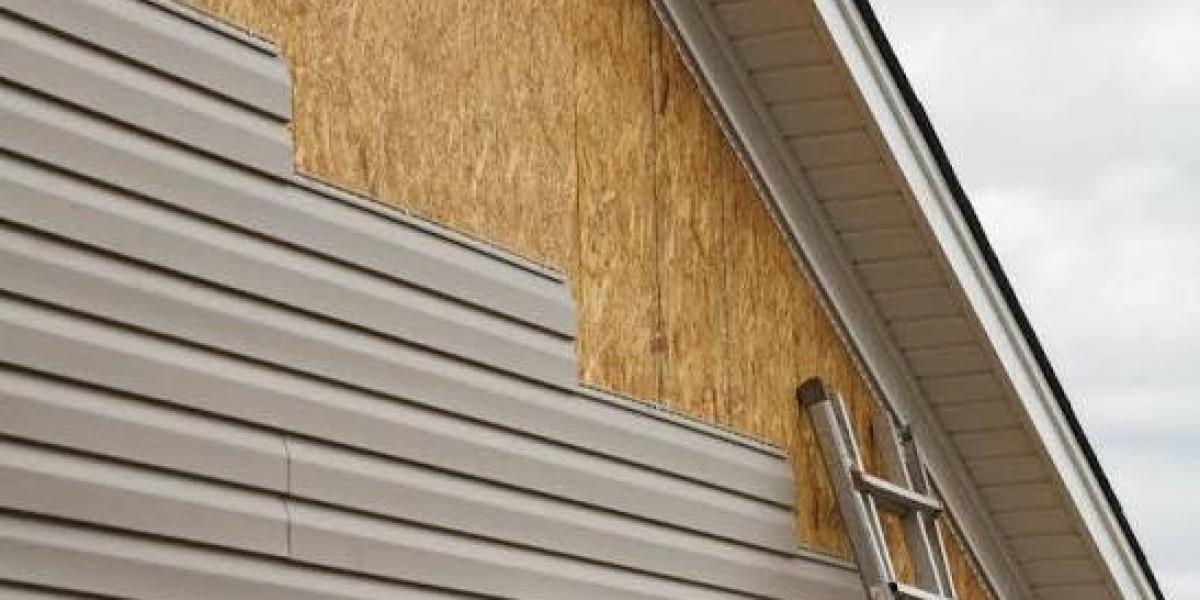
4. Attach the Siding Panels
Vinyl panels are installed from the bottom upward. Each panel locks into the one below it, while the top edge is attached to the wall using siding nails or other approved fasteners.
A critical installation principle is to avoid fastening panels too tightly. Vinyl expands and contracts as temperatures change, so it needs room to move. Proper spacing and fastening techniques help prevent buckling, distortion, and other problems.
5. Work Around Windows and Doors
Windows and doors require careful measurements and precise cutting. Flashing and trim should be properly integrated around these openings to help manage water.
This is an area where professional workmanship can make a significant difference because poor detailing can lead to leaks or an uneven finished appearance.
6. Complete the Final Details
Once the main siding panels are installed, the contractor completes the upper sections, soffit and fascia connections where applicable, trim, vents, and other finishing details.
The finished siding should be inspected for alignment, secure attachment, proper clearances, and visible defects.
DIY or Professional Vinyl Siding Installation?
Some experienced homeowners may consider installing vinyl siding themselves. However, a full siding replacement involves more than simply attaching panels to exterior walls.
Incorrect installation can cause uneven lines, loose panels, water intrusion, buckling, or premature damage. Professionals also have experience identifying hidden wall problems and properly detailing difficult areas around windows, doors, corners, and rooflines.
For larger homes or complete siding replacements, hiring an experienced siding contractor can save time and reduce the risk of costly installation mistakes.
How to Maintain Vinyl Siding
One reason homeowners choose vinyl siding is its relatively simple maintenance requirements. Periodically inspect the exterior for cracks, loose panels, gaps, or damaged trim.
Dirt and debris can generally be removed with a suitable cleaning solution and appropriate equipment. Avoid harsh cleaning methods that could damage the siding or force water behind the panels.
Trees and shrubs should also be kept from constantly rubbing against the siding. If a panel becomes damaged, replacing the individual section may be possible without replacing the entire exterior.
Final Thoughts
Vinyl siding installation can dramatically improve a home's curb appeal while providing a practical exterior covering that is relatively easy to maintain. From its wide selection of styles and colors to its resistance to everyday weather exposure, vinyl siding remains a popular choice for homeowners looking for an attractive and cost-effective exterior upgrade.
The key to getting the best results is proper preparation and installation. Choosing quality materials, addressing underlying wall problems, using correct flashing and weather-resistant components, and allowing panels to move naturally with temperature changes can all contribute to a longer-lasting siding system.
If your home's existing siding is faded, damaged, warped, or difficult to maintain, a professionally installed vinyl siding system can be a worthwhile investment in both the appearance and protection of your property.