Introduction
You have the perfect image ready to become your next embroidery project. You find a JEF File Format Converter, upload your file, and get a JEF file back. You load it onto your Janome machine, hit start, and... the result is a mess. It puckers, the threads break, and it looks nothing like your original image. What happened? The process of converting an image to an embroidery file is where the real magic—and the real secrets—lie. While anyone can run a file through a converter, professionals understand the critical steps that happen before and after that conversion to guarantee a perfect stitch-out. They know that the converter itself is just one tool in a larger, more deliberate process. This guide pulls back the curtain on what the pros really do, revealing the unspoken truths about preparing images, choosing tools, and testing files that separate amateur results from professional-quality embroidery.
Secret #1: The Converter is the Least Important Part
This sounds counterintuitive, but it's the fundamental truth professionals understand. The quality of your final stitched design is 90% determined by what you do before you ever click the "convert" button. A professional would never throw a complex, low-resolution photo into a converter and expect a good result.
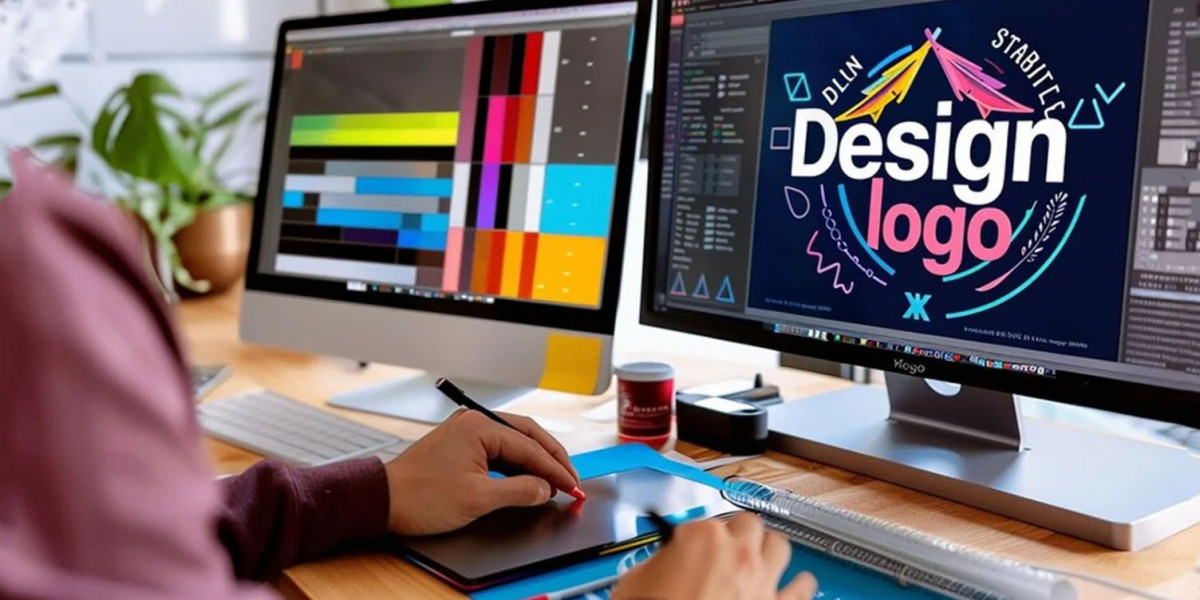
The real work happens in the preparation. Your image is the blueprint, and if the blueprint is flawed, the final construction will be too. Pros spend more time cleaning and simplifying their image in a photo editor than they do in the conversion software itself. They know that a perfect conversion of a poorly prepared image will still give them a poor embroidery file. The JEF File Format Converter is just the final step in a careful, multi-stage process.
Secret #2: Your Image is the Problem, Not the Software
When a conversion fails, it's easy to blame the software. But professionals know that the image itself is usually the culprit. Embroidery is a medium of simplification, not photographic replication.
Pros actively look for and avoid these common image pitfalls:
Low Resolution and Blurry Edges: A pixelated image gives the software no clear path to follow, resulting in a jagged, messy stitch file.
Complex Shadows and Gradients: Embroidery uses solid blocks of color. A subtle shadow in a photo will either be lost or turn into an awkward, solid blob of dark thread.
Excessive Detail: Tiny features, intricate patterns, and small text become a tangled mess when stitched. The needle and thread have physical limits.
Low Contrast: If the subject doesn't stand out strongly from the background, the software can't distinguish what to stitch.
Before conversion, a pro will ruthlessly edit the image to eliminate these issues, creating a version that is primed for embroidery success.
Secret #3: The "Photo to Embroidery" Myth is Mostly a Lie
Online services love to advertise "turn any photo into embroidery!" This is the biggest misconception in the craft. Professionals rarely, if ever, convert a standard photograph directly into an embroidery file.
A photograph contains millions of colors and subtle details that are impossible to translate into thread. What you see advertised as a "photo conversion" is almost always a heavily edited and simplified version of that photo. A pro will first convert the photo into a piece of line art or a simplified graphic using other software. They may even redraw the key elements by hand in a vector program to create a clean, stitchable outline. The process isn't "photo to embroidery"; it's "photo to simplified graphic to embroidery." Understanding this saves you from the frustration of failed family portrait conversions.
Secret #4: The Best "Converter" Isn't a Converter At All
While automated online converters have their place for very simple graphics, professionals rely on a different kind of tool: professional digitizing software like Hatch Embroidery or Wilcom.
These platforms aren't simple converters; they are design studios. A pro doesn't just upload an image and get a file. They:
Manually Trace Key Lines: They use tools to draw run stitches along the most important outlines of the design.
Assign Stitch Types Intentionally: They decide which areas become satin stitch (for smooth borders) and which become fill stitch (for large areas), manually adjusting the angle and density for each.
Create an Efficient Stitch Sequence: They control the order of operations, grouping colors together to minimize thread trims and jumps, which saves time and thread.
This manual process gives them complete control over the final look and performance of the file, ensuring it is not just a rough interpretation, but a faithful and optimized recreation of the image.
Secret #5: The Magic is in the Manual Adjustments
This is the core of professional digitizing. After the initial design is laid out, a pro goes through a checklist of manual adjustments that automated converters skip entirely.
Pull Compensation: This is a crucial adjustment for perfect shapes. When the needle pulls the thread, it slightly distorts the fabric, making circles stitch out as ovals. Pros proactively widen satin columns and adjust fill areas to compensate for this pull, so the final stitched design is perfectly shaped.
Stitch Density Optimization: Many auto-converters use an overly high stitch density, making the design stiff and causing puckering. Pros reduce the density to the minimum required for good coverage, creating a softer feel and preventing fabric distortion.
Underlay: This is the invisible foundation of a professional embroidery design. Pros add a layer of stitching underneath the top design to stabilize the fabric, push away nap (on towels or fleece), and create a smooth base. This prevents the top stitches from sinking in and ensures crisp, clean details.
Secret #6: The True Test Happens Off the Computer
A professional never assumes a file is ready just because it looks good on screen. The most important step happens at the machine.
The Professional Testing Protocol:
Stitch on the Final Fabric: They always test the JEF file on an exact scrap of the fabric they will use for the final project. A design that works on cotton may fail on stretchy knit.
Use the Correct Stabilizer: They test with the same stabilizer they plan to use, as this dramatically affects how the design stitches out.
Watch and Listen: They observe the first test stitch-out closely, looking for puckering, thread breaks, or registration issues. They also listen to the machine; a smooth, consistent hum is good, while constant stopping and starting indicates an inefficient file.
This test stitch is not a failure; it is the final and most important quality control check. Based on the results, they go back to the software and make fine-tuning adjustments.
Secret #7: You Get What You Pay For (The Hidden Cost of "Free")
Pros understand that a "free" or $5 conversion from an online auto-converter often ends up being the most expensive option. The hidden costs include:
Wasted Thread from inefficient stitch paths and excessive trims.
Wasted Stabilizer from having to use heavier stabilizer to combat puckering.
Wasted Fabric from ruined garments during failed stitch-outs.
Wasted Time spent babysitting a problematic machine and re-doing work.
Investing $30-$50 in a professionally digitized file seems like a cost, but it's actually a savings. It guarantees a reliable, efficient file that works right the first time, protecting your materials, your time, and your sanity.
Conclusion: Become the Pro
Converting an image to a JEF file is a craft in itself. It's not about finding a magical JEF File Format Converter that does all the work. It's about adopting a professional mindset that prioritizes preparation, values control over convenience, and never skips the real-world test.
The pros aren't keeping a secret website or a special button from you. Their secret is a disciplined process. They prepare their images with surgical precision, they use powerful software to manually craft the stitch blueprint, and they validate every file with a physical test. By embracing this holistic approach—seeing yourself as a digital architect rather than just a file converter—you can consistently produce embroidery that looks professional, stitches smoothly, and truly does your original image justice. Stop chasing the perfect converter and start building the perfect process.
